
The Ultimate Guide To Pick Up Photography | Part 1: Shooting
So you want to take photography more seriously? Gone are the days when you felt the thrill of the basic selfie, landscape shot or lunch snap. You scroll through Instagram thinking "what the hell, this is amazing" or "Wow, I'll never be able to take shots like these". Don't let the creativity and passion of others paralyse your creative output! I have put this article together to help budding photographers and Instagram enthusiasts shoot smarter, edit better and share effectively.

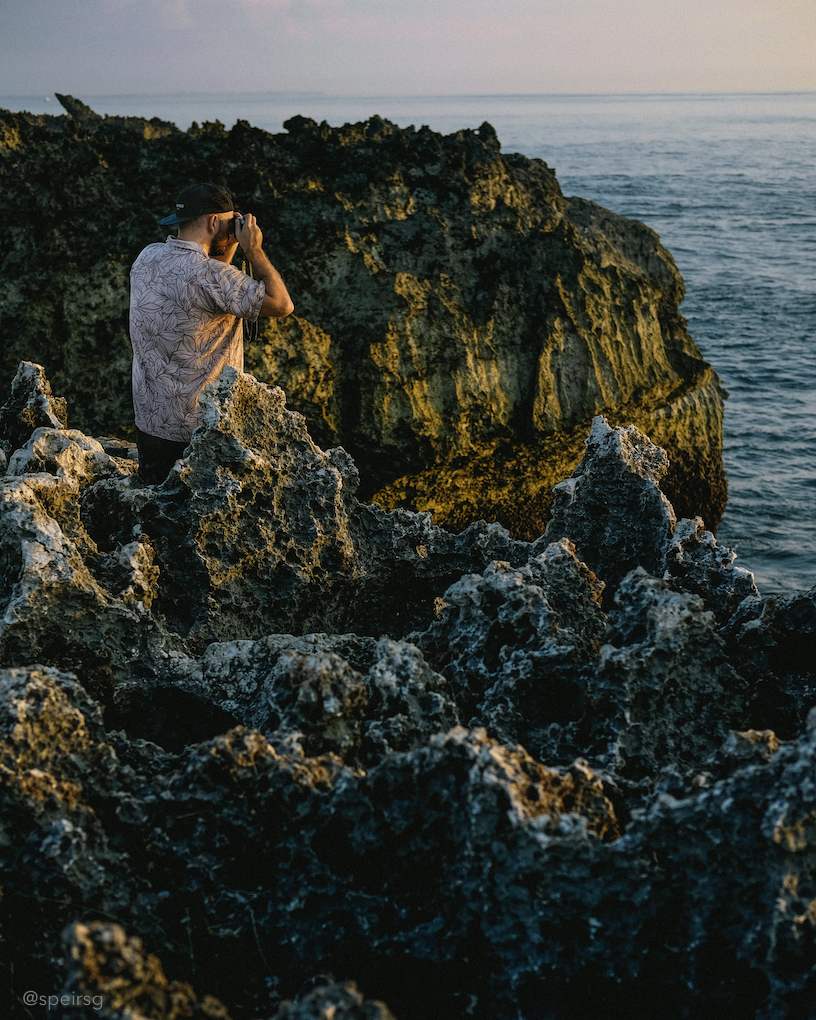
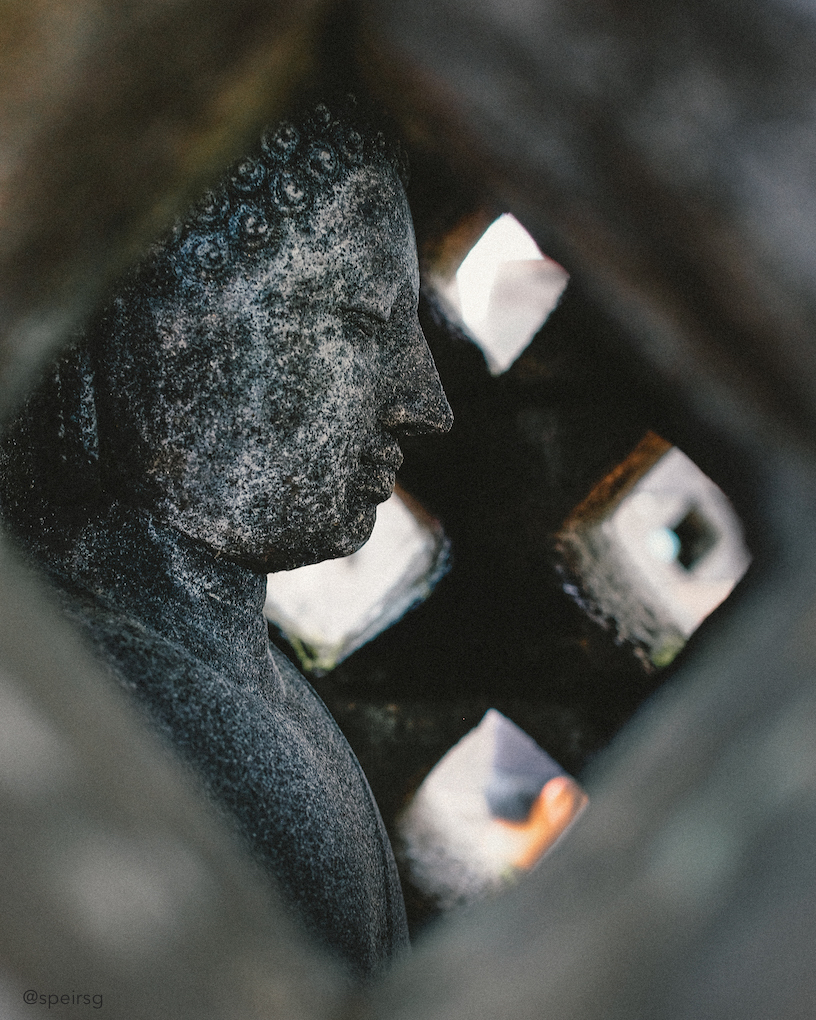

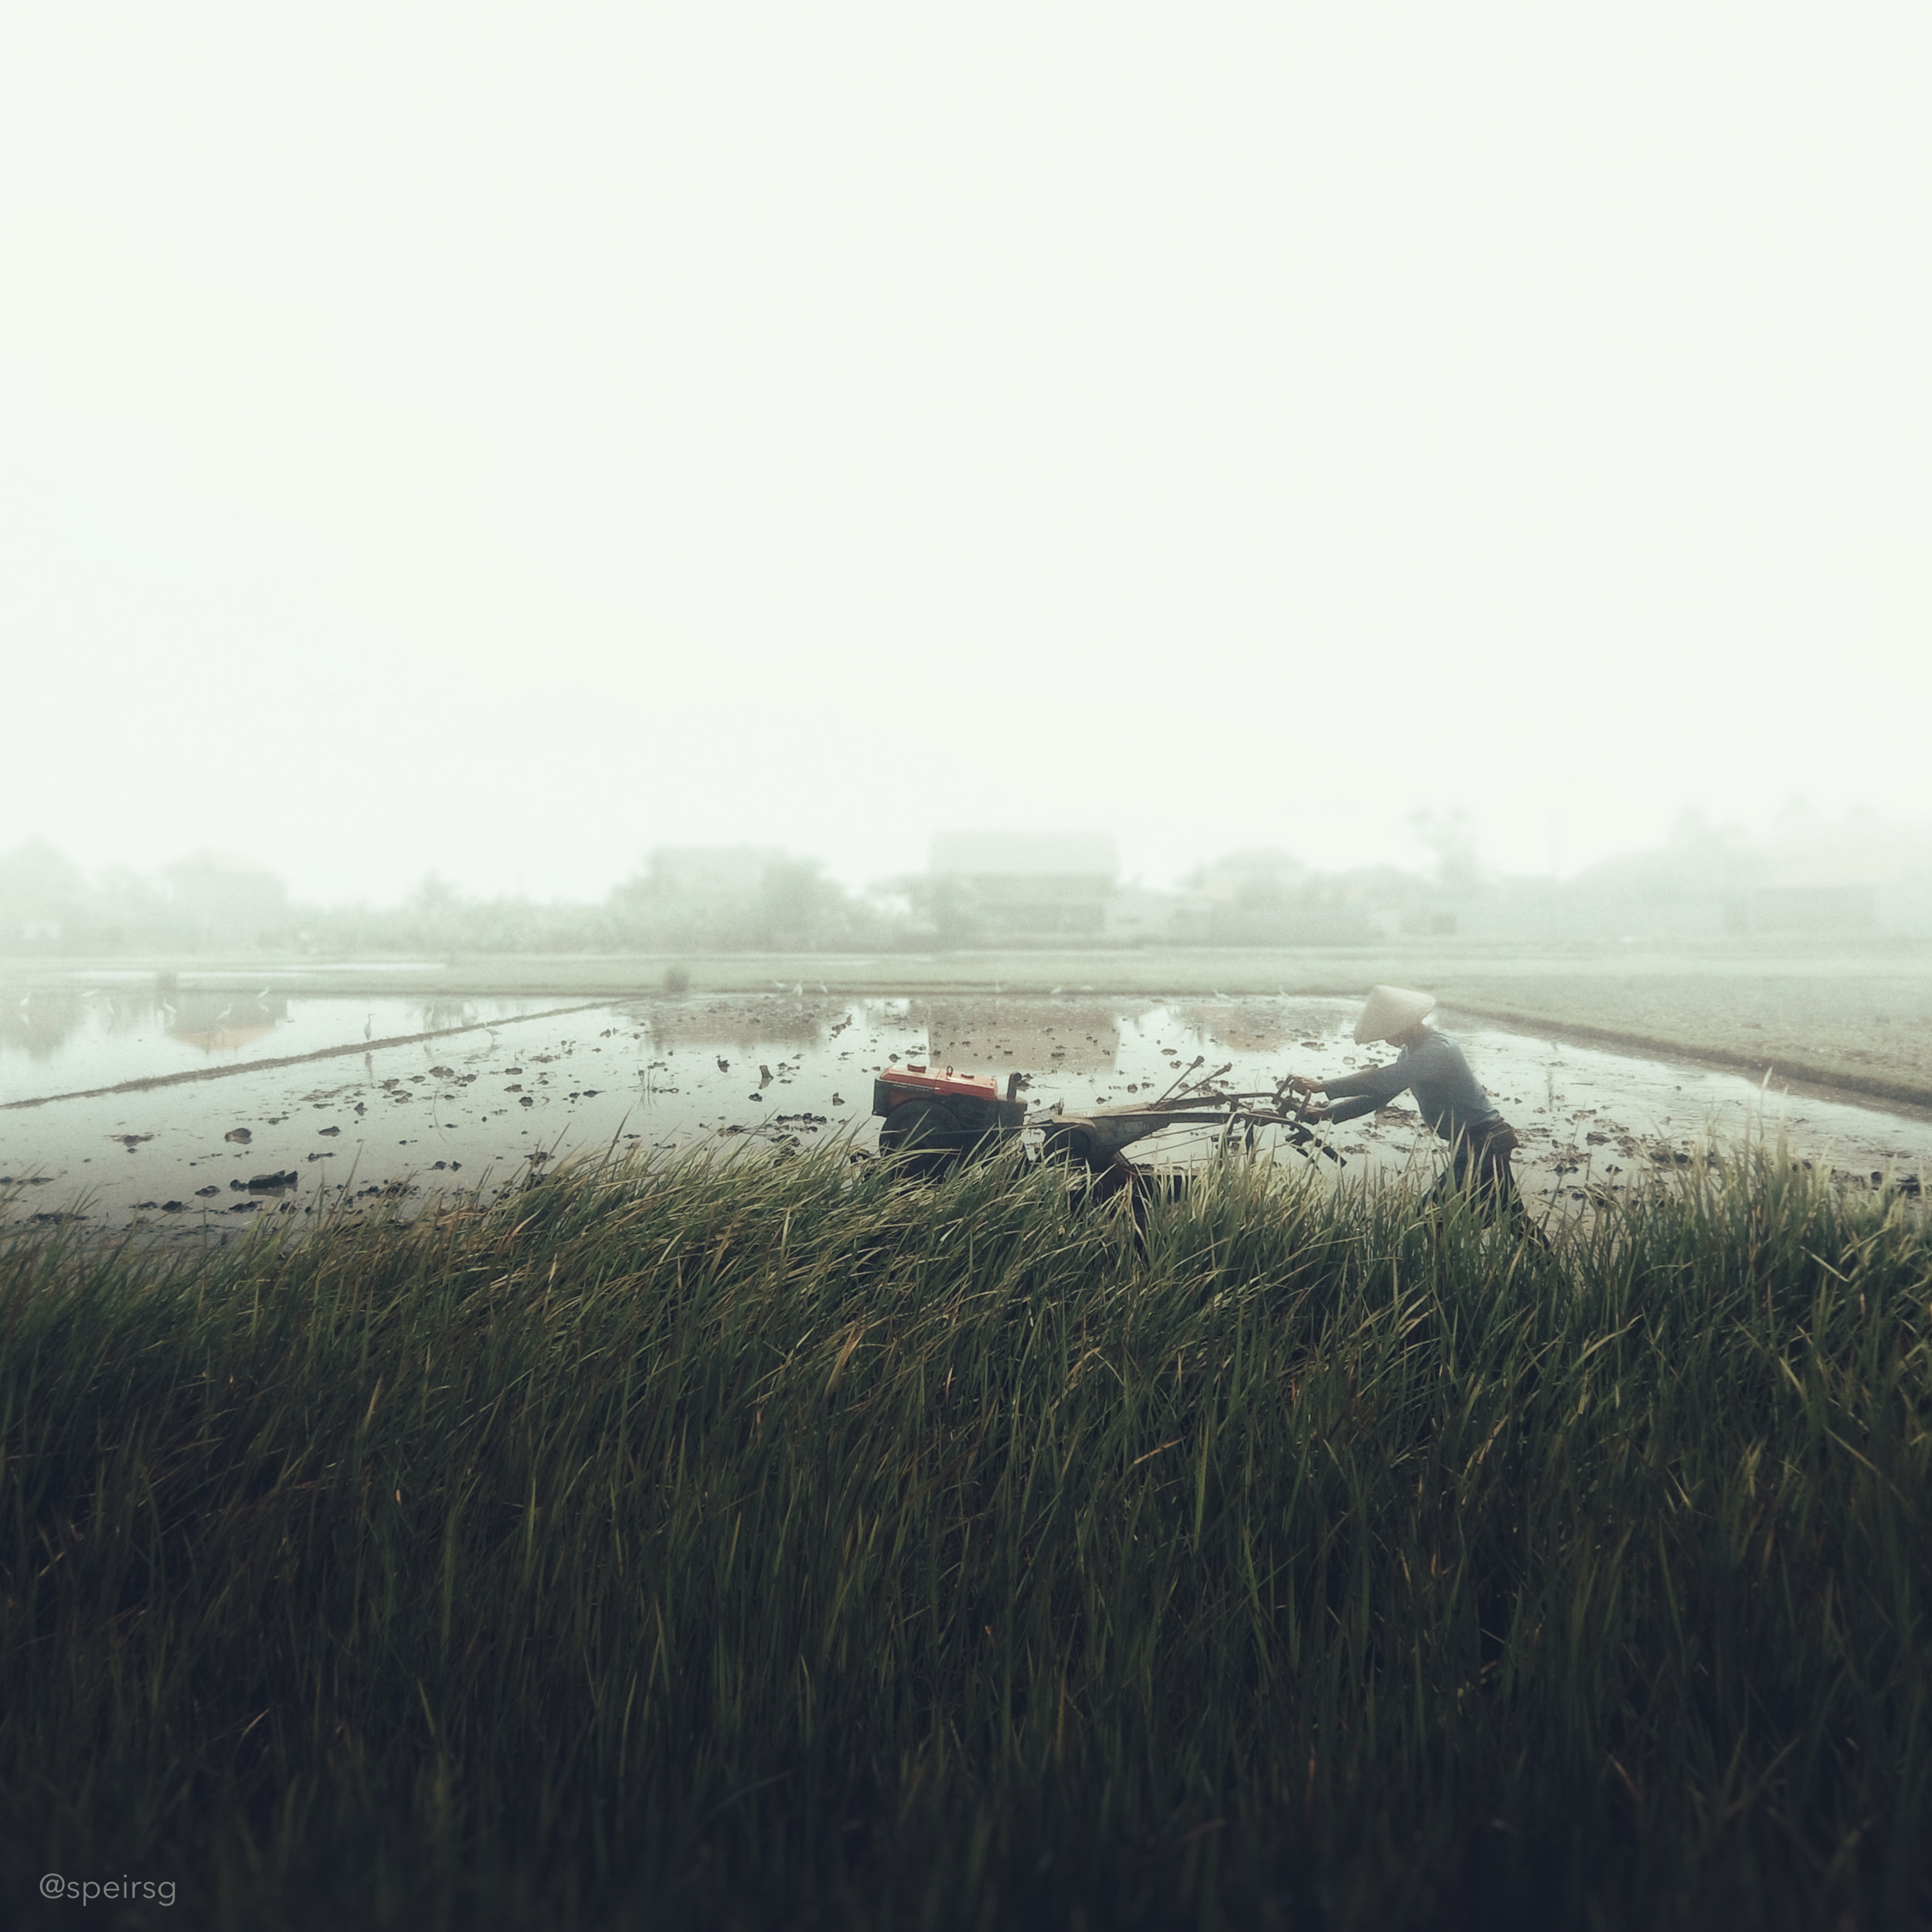
Photos by @speirsg
Shoot
Firstly, I really want to make it clear that it does not matter what you take pictures on, be it a smartphone, film camera or a mirrorless camera - taking a picture of a toilet on smartphone versus a professional camera still shows a toilet. The IPhone 4's camera can still yield a perfectly acceptable image and so can a 2010 DSLR. Reminder over.
Usually, when you see an amazing photo, most of the work in making it look great is done in the moment of taking the shot. With this in mind it helps stress the importance of setting up your shot to the best of your capabilities.
1. Play Around With Different Settings
Before you step out into the wild, get to know your gear a little. You don't need to really get into the headache inducing technical aspects of photography but at least become familiar with the capabilities of your camera. Mess around with these settings indoors and outdoors. Here are some examples and what they do:
Exposure Lock - Controls overall brightness of the scene and allows you to maintain one desired brightness.
Focus Lock - Sets the focus distance and allows you to maintain one desired distance.
Shutter Length - Controls how long the shutter stays open, which allows more or less light onto your sensor.
ISO - Setting that controls the sensitivity of the image sensor in your camera. Helps brighten an image.
White Balance - Settings that help your camera understand what is true white. Helps avoid incorrect colour production.
Dynamic Range (or HDR in smartphones) - The setting that broadens the camera's ability to capture more colour and detail.
Toggle Grid on/off - A useful tool to help line up shots and plan out your shots.
Panorama Mode - Create a long contextual photo over a large viewing angle.
Burst Mode - Helps take many photos per second
Bracketing - One button press create 3 images: under exposed, normal exposure and over exposed.
Metering - The camera's intelligent automatic brightness adjustment tool.
In terms of different camera's, it is also useful to know which mode one should be in for different scenes. Below are some examples to help clarify what the mode stands for and when to use it.

Wikimedia.org
P - Program Mode
This mode is typically reserved for the point-and-shoot photographer who doesn't want to think about aperture or shutter speed (maybe it should be "L" for lazy). The camera will intelligently read the scene you are shooting and adjust the settings accordingly. This mode however, should be used by beginners who are practicing composition and want to leave aperture and shutter speed learning to a later date. If you want to become a good photographer, don't hang around using this mode for too long.
A - Aperture Priority
This mode is Aperture priority mode, which means that the photographer will manually set the values of the aperture (i.e. choose how big or how small the f/ stop number is). While the photographer sets this value, the camera automatically analyses the scene and sets the shutter speed for you. This is handy when you know you want to just think about how much depth you want in a photo, since aperture values can change how in focus or out of focus your background or foreground can get. This mode is actually very popular with photographers considering how smart camera's are these days.
S - Shutter Priority
This mode is the opposite to the A mode whereby the photographer sets the values for the shutter speed and the camera works the aperture values to balance out the images. This can be useful for when you are trying to shoot moving subjects like for sports photography, wildlife photography or out and about on the busy streets. However, the fact that your DOF (depth of field) is out of your control, you can end up with a shot that keeps your background in focus and thus doesn't bring out your subject effectively.
M - Manual
This mode should really be used by photographers who have a good understanding of but shutter speed and aperture manipulation. It is the toughest mode to handle and sometimes the slowest mode to be in to get the 'perfect' picture, but it is super satisfying. Manual mode gives you full control and creative freedom to shoot your subject. While there are a few aspects that can still be automated (like ISO values), it is mostly up to the photographer to read the scene, shoot some test shots and balance out the settings. Don't be discouraged though, once you get the shot, you'll be giving yourself a pat on the back (and hopefully others too).
If you want a bit more knowledge on the basics, head over to the YouTube channel "The Art Of Photography" by Ted Forbes for some more awesome info.
2. Understand What You Are Photographing
I feel it really helps to know what you are photographing because it can then inform a language or style to your photographs. If I were to photograph an artist, I would ask what his/her style is or what kind of messages he/she tries to convey. This way, you can represent your subject in a more thematic and impactful way. If you are shooting a landscape, let's say a desert, it would not make any sense to shoot the dunes while a giant group of Chinese tourists explored to scene. No, you would try to shoot the emptiness and lifelessness that deserts are know for. This step, I feel, also allows you to remove the camera from you and your subject and connect. If you are forever viewing the world through your camera lens, I feel that this can ruin memories. Be in the moment, at lease for a minute.
3. How To Shoot
Ok, so you should be in the right frame of mind to start shooting now. Take a look at this video made by COOPH featuring the great Steve McCurry that perfectly outlines what you should be thinking about when taking a photo...
Hopefully from that video, you can see how taking a moment to analyse a captivating photo can actually help you shoot better. Shooting wildly without careful planning of a scene rarely outputs a decent image, however, on the other hand, taking a century making sure you "tick all the boxes" can result in missing that magic moment. Practice finding the balance and don't be afraid to break any of those rules!
The video doesn't cover a few other things though. Firstly, beginner photographers usually take their positioning of the camera for granted. Ideally, you should move the camera far and close, move to the left and right of the scene, go behind the subject and even change the elevation. You can probably tell on Instagram right now that there is a clear trend in taking pictures from helicopters. Not only do these shots show that you're a badass, it also the result of many photographers looking for "new" angles.
Portrait Photography - There's something captivating about looking at portraits. Gazing at a person's attributes or emotion captured in time can sometimes stop you dead in your tracks - picture piercing eyes, deep wrinkles or even a sad face. On the flip side, a terrible portrait can a) leave a negative impact on the photographer and b) make the subject look undesirable to look at. The video below helps you understand a little about portraits and shooting someone who isn't a model.
Landscape Photography - The majority of us love travelling, which sometimes places us in an unforgettable scene. The typical traveller will most likely whip out their camera phone, snap a few shots, then once back at their hotel or hostel, be somewhat disappointed that the photo didn't quite capture the beauty of the moment. Of course the first thing to do is just be in the moment and take in the scene with your eyes. But, should you feel compelled to capture the essence of the scene in all it's glory, there are a few steps you should take to ensure a jaw dropping landscape shot. Below is a looooong video by Fstoppers featuring Elia Locardi. The first 23 minutes shows shows you what to consider and how to take landscape shots - I'll let the pro take over...
Food+Beverage Photography - Now, since there has been a boom in food blogging (love it or hate it), this subject for photography isn't so easy to do. Things to consider are; angles, lighting, decoration, composition, interaction (food being prepared or food being eaten), background and foreground and more. Once again, Mango Street Lab are on it with a quick and simple breakdown of this popular photography subject. They have a part 1 and 2...
4. Popular Types of Shots (and how to do them)
Getting that Bokeh - These are the awesome very out of focus areas of a photo, which includes the shapes (usually ball like) that certain lenses can produces when light sources are very, very out of focus. Achieving this on a smartphone is fairly tough as the distance between the camera, subject and background (with lights) need to be just right. If you are using a camera (DSLR or Mirrorless), you'll want to set your aperture to it's largest value (or what photographers call "Wide Open"). Typical values would be F/3.6, F/2 or even F/1.2, these will get amazing results. Alternatively, increasing the distance between the background and subject or subject and camera can produce the same effect. This video explains it nicely!
Long Exposures - These kind of shots are the result of holding the shutter open for long periods. Think about it as a photo that captures not just a moment but an event. Setting this up is a little more tough. You will need a steady tripod as any tiny movements will cause the image to streak and blur. Normally, long exposure is done at night but should you want to shoot some long exposure during the day, you will need ND filters. These are basically a pieces of darkened glass that you fasten to the front of the lens that reduces the amount of light reaching the sensor - less light reaching the sensor per second = more time to leave the shutter open. Here is a video to help you with the basics.
Capturing Movement - While most types of photography shoot a still or very slow moving subject, there are times when you see something on the move and what to shoot it, be it a wildlife shot of a running tiger, a sports shot of a running athlete or a fast moving sports car. Conveying movement in a photograph means either the background is streaky and blurry or the subject has moving or blurry attributes. This video below should clear this up!
Now what?
So, as you can see, there's quite a lot to taking photos. There's enough here to really add variety to your photography. BUT, this is only 1 out of 3 steps to becoming a photographer as your images will have to be edited (sorry, not sorry). My next article will be resources and steps in bringing out the best in your photos, fixing some annoying unwanted details and even faking some aspects in your scenes to give it some extra punch!
Make sure you like the Genesis Facebook Page to be notified when Part 2: Editing comes out!